Netlify: Hosting Static Websites
Over the past year, I've been experimenting with various technologies for building web applications. It is fun hosting them somewhere so other people can see them and writing blog articles about them.
In the past web hosting cost money, not a lot of money, but enough to defer me from putting applications on the web. It also required a do-it-yourself approach to setting up the infrastructure, building the websites, uploading the website somewhere. If I wanted to make the site secure, the cost of TLS certificates was high enough just to prevent from using them on personal sites.
Netlify has changed all of that for me. Netlify provides free static website hosting for up to 300GB of traffic a month hosted on it's CDN. It's goal is to be good at serving static sites. In other words, applications that aren't server rendered when someone visits them.
Modern Hosting Features
Netlify is much more than ordinary site hosting. It provides a number of functionalities that really simplify publishing static websites.
Netlify has a build system built in. If I'm using a modern web framework, I can specify the commands used to build my web application, and it will take care of the details. I've tried several web technologies such as Hugo and Angular and both have worked very well. After Netlify builds the site, it deploys the output.
It also has some deeper integrations into GitHub. I push a commit to GitHub, Netlify builds the site and deploys it for me. If I make a change in a branch submit it to GitHub and create a pull request for it, Netlify will take that PR, and deploy it to a temporary location so the modifications can be viewed as part of the PR. I haven't worked on projects with multiple people and GitHub and Netlify yet, but it's really a great to help take a test drive through the feature while reviewing code.
It also allows for custom domains on it's free plan. This was the most surprising thing for me out of all the features. I own the domain honlsoft.com, and can point any subdomain at a Netlify site for any of these projects I build. It even configures free TLS certificates via Let's Encrypt. In fact, this personal site honlSoft is hosted on Netlify.
Site Setup
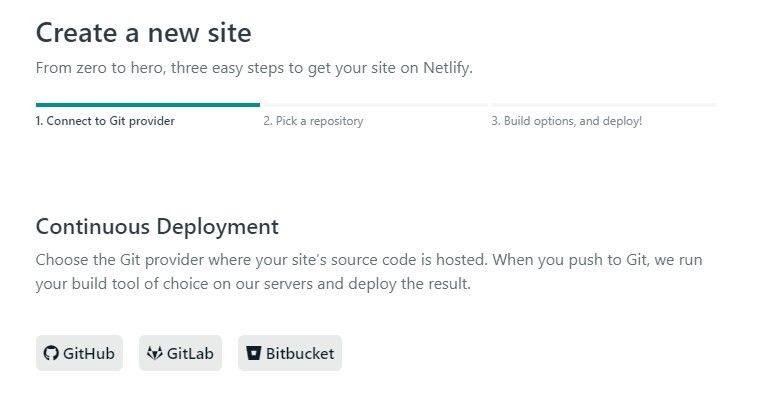
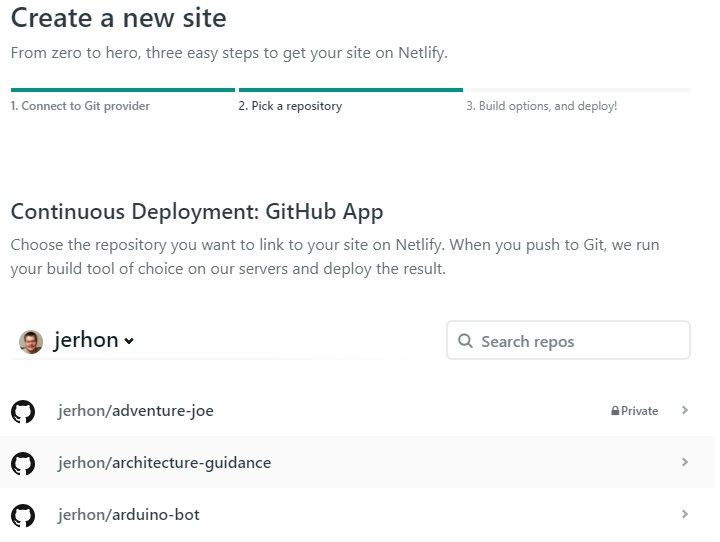
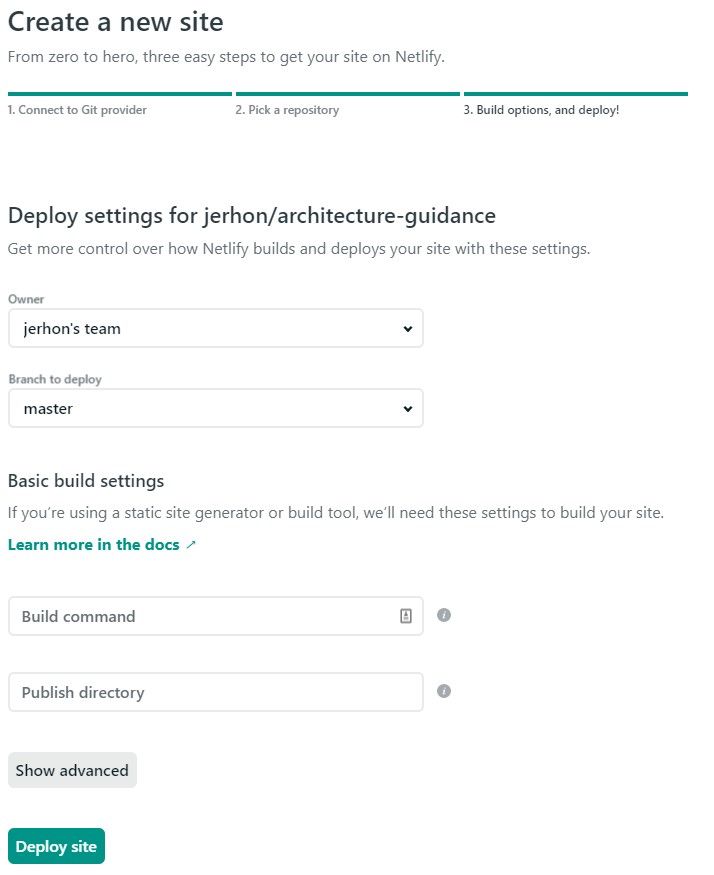
I took some screenshots of the setup process. As of the time this blog was written, three simple setup steps and a site is available at a *.netlify.app location.
- Pick the cloud based Git provider you're using.
- Pick the repository from the provider.
- Setup the options to build and deploy the application.
Typically the build command is a one liner depending on the tooling you're using. For example in angular ng build --prod for a production build. The folder just needs to point to the output of that which is typically dist/project-name-here.
For angular applications, I usually set up a netlify.toml file. For some sites this isn't needed, but since a lot of my Angular apps use routing, URLs need to redirect to the main index.html. This can be accomplished through that file.
For example, here is the netlify.toml file for my COVID-19 stats tracker.
[build]
  publish = "dist/covid-19-stats"
  command = "ng build --prod"

[[redirects]]
  from = "/*"
  to = "/index.html"
  status = 200
Build and Deploy
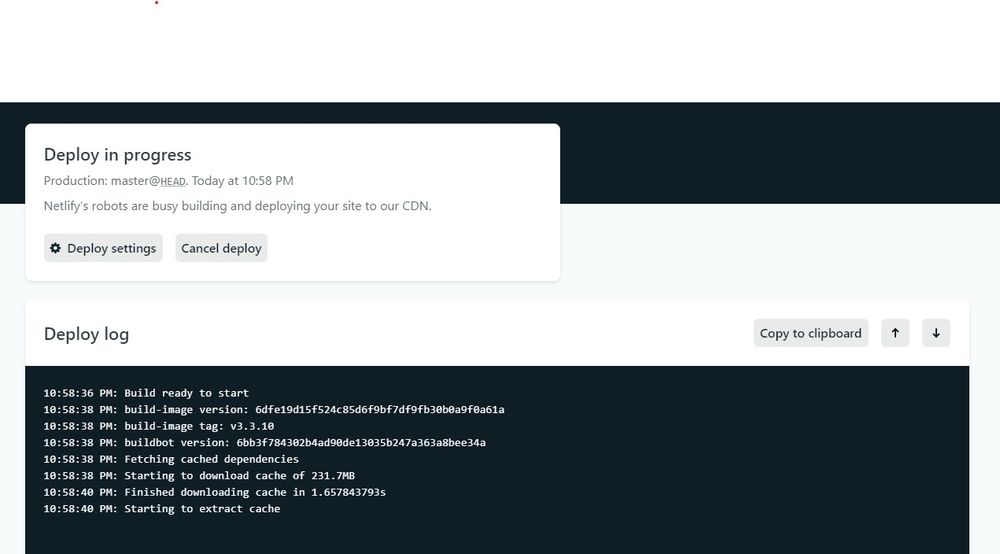
Once everything is connected, Netlify starts executing it's first build of the source automatically. From that point forward any additional builds are triggered off of pushes to the GitHub repo. You get to directly see the console output in case anything goes wrong.
Wrapping Up
Netlify is such a great tool, and there are so many other features it can provide for web development. I use it for so many of the personal web projects I build, and it's really made publishing them simple. If you like playing around with web technologies, I'd suggest you give it a try.